The Complete Guide to Automated Content Publishing for SEO
Automated content publishing stops the weekly scramble and gives your team a system. It means your research, drafting, approvals, SEO checks, and publishing run through one repeatable workflow. That matters because speed drops when each step lives in a different tool. Consistency drops too. According to AI Content Optimization for SEO: The Ultimate Guide - SEOBoost, strong optimization gains can scale results by 1024x. In this tutorial, you will build a practical pipeline for automated content publishing across WordPress, Shopify, and Webflow. You will also add brand voice controls and SEO rules that protect quality. Start simple. Then layer in the safeguards, checks, and integrations you need for real production use.
What You’ll Build
For example, your team might draft blog posts in a spreadsheet, send them to an AI model, validate headings and links, then push approved drafts into your CMS. That is the core system. Keep it simple at first. One content type and one channel will teach you more than a wide, messy setup.
What You’ll Learn
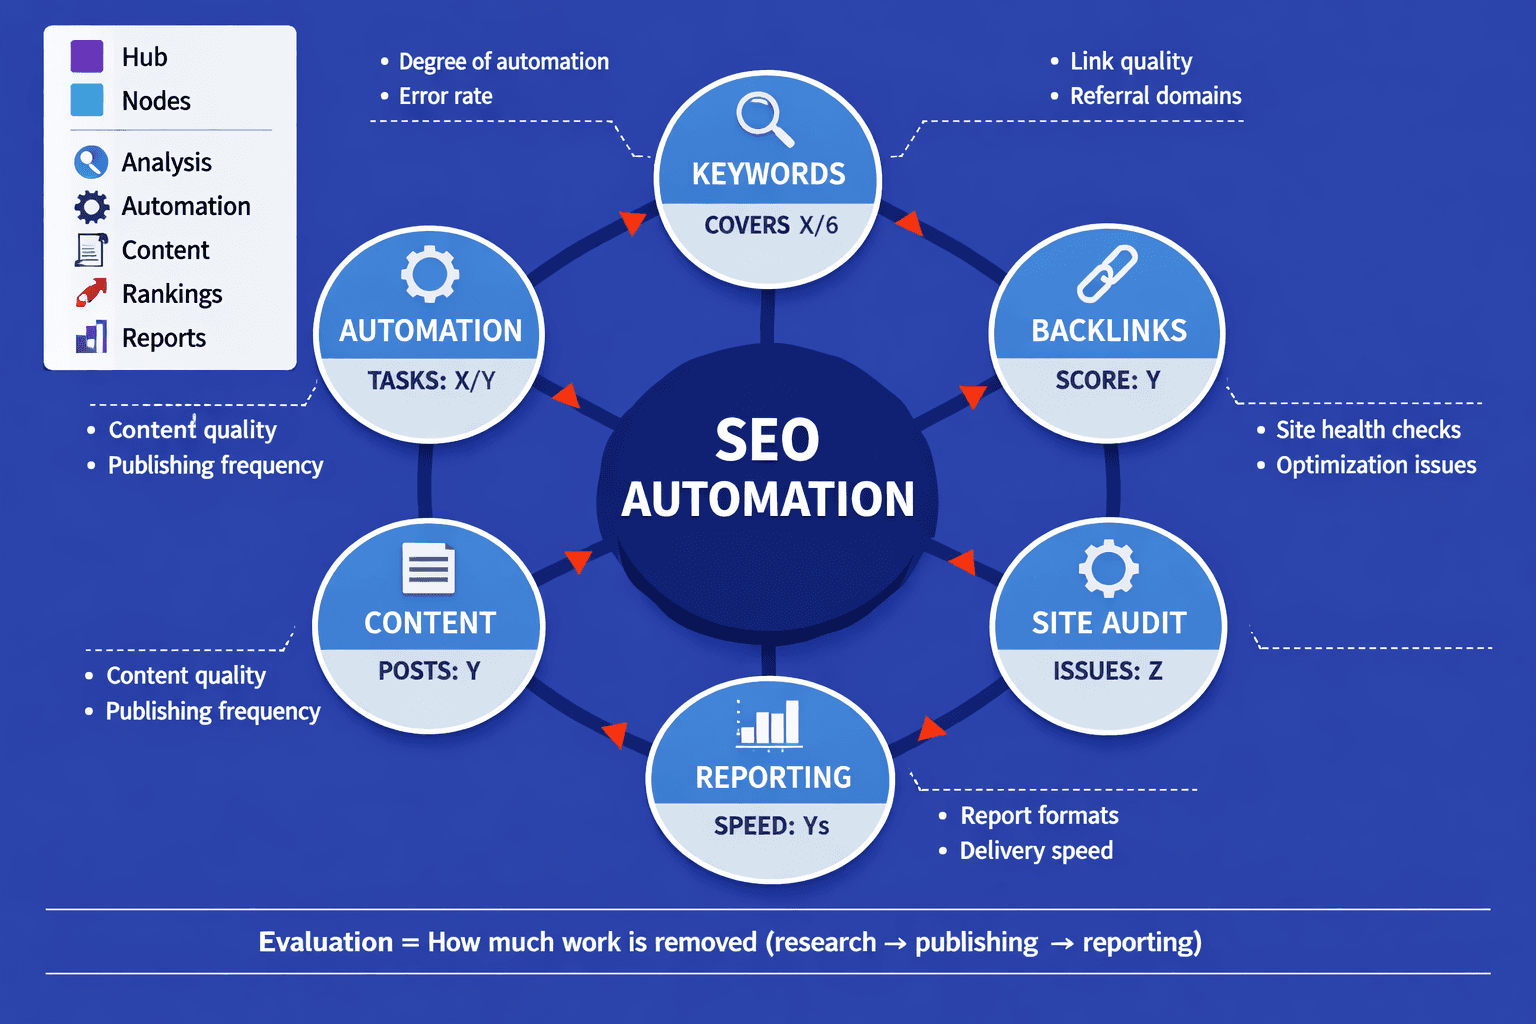
By the end of this section, you’ll understand the minimum architecture for seo content automation. You need six moving parts: a trigger, a brief, a validation layer, an approval step, a CMS connector, and monitoring. Each part has a job, like stations on a factory line.
You will also learn why small teams can build this without developers. Most no-code tools now connect forms, databases, AI agents, and publishing platforms. According to SEOBoost, AI-assisted optimization can improve output at a 982x scale in some workflows, but only when clear rules guide the process.
Prerequisites and Accounts
By the end of this section, you’ll know the basic tools you need. Start with CMS access for WordPress, Shopify, or Webflow. Add a spreadsheet or database, an automation platform, AI model access, your style guide, and analytics.
You also need simple content strategy rules. Define tone, forbidden phrases, target keywords, and review steps. If your site structure is weak, read Why Your XML Sitemap Might Be Hiding Your Best Content before you automate distribution.
Choosing Your Stack
Start with the smallest useful stack. Use Airtable or Google Sheets for briefs, Make or Zapier for workflow logic, and your CMS for publishing. Add agents for drafting and validation only after your manual rules are clear.
If you are a small team, that is enough. Do not automate everything on day one. Prove the workflow works with one format, then expand to more channels, more agents in the process, and stronger checks.
Part 1 Building Your Automated Content Publishing Workflow

1. Define the Trigger and Content Brief
Start with one clear trigger. For example, a new row enters Airtable, Google Sheets, or Notion. That row should tell your system what to create and why it matters.
Your content brief should use structured fields, not loose notes. Include title, primary keyword, audience, search intent, CTA, internal links, content type, and publish status. Add owner, due date, and target CMS if needed.
Think of the brief like a packing slip on a box. If the label is vague, the package goes astray. If the fields are clean, your workflow can route content that fits the right format and goal.
2. Create the Simplest Working Version
Keep your first content publishing workflow narrow. Pick one repeatable use case, such as blog posts, support articles, or category copy. Do not mix three content types in version one.
A simple flow works best: a topic enters your sheet, AI drafts the article, a reviewer checks it, and the CMS gets the final copy. That gives you one full loop to test before adding branches, ai agents for enrichment, or extra SEO rules.
For example, if you run an ecommerce store, start with collection page intros only. If you manage a SaaS site, start with help center articles. Narrow scope makes weak prompts, broken fields, and bad assumptions easy to spot.
For a visual walkthrough of this process, check out this tutorial from AI Andy:
3. Add Human Approval in the Right Place
Human review should happen after drafting and before publishing. That is the safest checkpoint. You catch weak claims, off-brand language, broken formatting, and thin SEO before anything goes live.
This step matters even more when you publish content that supports ai search visibility. A reviewer can confirm the piece matches your brand voice and business goal. They can also check whether internal links support broader SEO after AI Overviews: How to win when Google answers first.
4. Store Status and Metadata
Track each item like a package in transit. Store draft status, approval date, reviewer name, final URL, CMS entry ID, and last update time. This makes automated content publishing easier to audit and fix.
Metadata also helps you improve content that underperforms. According to AI Content Optimization for SEO: The Ultimate Guide - SEOBoost, some SEO tools start at $30, which is another reason to keep your process focused before adding more software. If your pages later struggle, review Why Your XML Sitemap Might Be Hiding Your Best Content next.
Part 2 Adding WordPress Shopify and Webflow Integrations
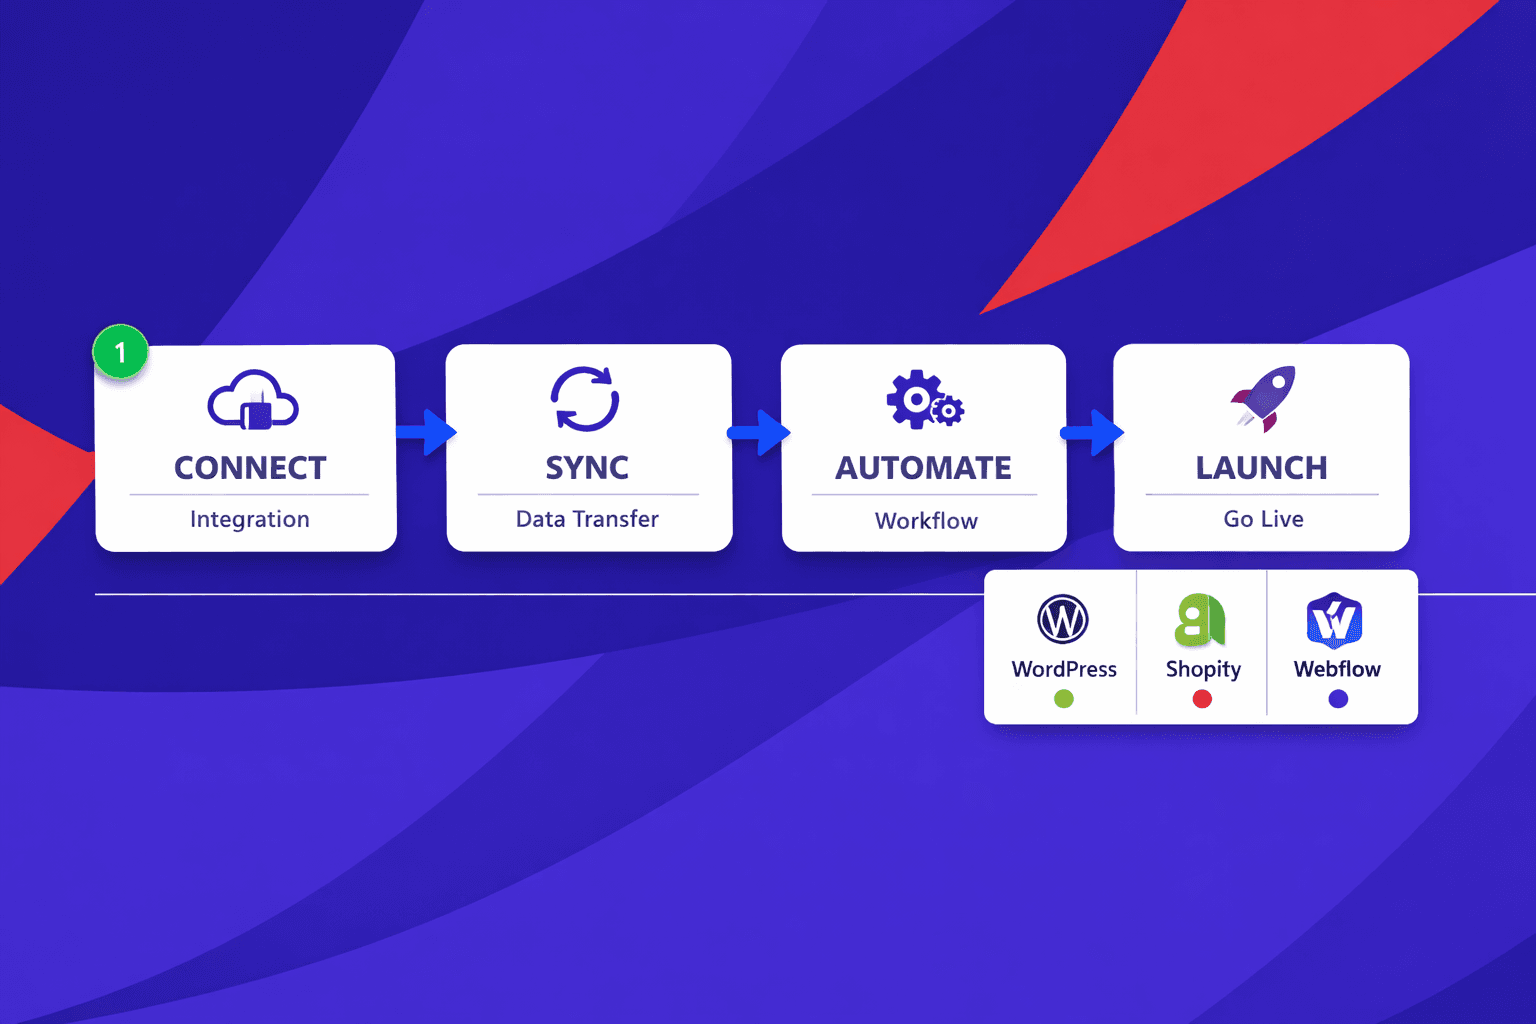
1. Connect WordPress Posts and Custom Fields
By the end of this section, you will know how to automate publishing to WordPress. Yes, you can automate publishing to WordPress through the REST API or supported automation tools. The key is to map one canonical schema first, then translate it for WordPress fields.
For example, think of your schema like a master shipping label. It holds title, slug, meta description, body copy, tags, featured image, and custom fields. WordPress then receives title, content, excerpt, slug, taxonomy terms, and Advanced Custom Fields values.
Start in draft mode, not publish mode. That gives your reviewer time to check spacing, headings, shortcodes, and image placement. Keep WordPress rules in a separate connector layer so your core content strategy does not depend on one CMS.
2. Publish Shopify Content and SEO Data
By the end of this section, you will understand how to publish content to Shopify automatically. Shopify can receive blog posts, page content, SEO titles, meta descriptions, handles, and images through its APIs. That makes it useful for stores that need editorial content and product-adjacent landing pages.
Your pipeline should convert the same canonical fields into Shopify terms. For example, slug becomes handle, and meta fields map to search engine listing data. Use draft or unpublished status first so your team can review formatting before customers see it.
This matters because Shopify has platform rules that differ from WordPress. Keep those rules isolated. If you later swap tools, you will not rebuild the full workflow. As Search Engine Land explains, on-page optimization depends on structured metadata and clean content that supports search visibility.
3. Push Webflow CMS Items Safely
By the end of this section, you will know how to publish content to Webflow automatically. Webflow works well when your site uses CMS collections for articles, landing pages, or resource hubs. Your connector should map canonical fields into collection fields, plain text, rich text, images, and reference fields.
Use draft mode first here too. Webflow layouts can break if rich text or image fields are malformed. For example, one missing reference value can block a publish job.
Track every result after each push. Store the destination URL, publish timestamp, status, and error message. That log becomes your first stop when troubleshooting blog posts or missing pages.
4. Normalize Fields Across Platforms
By the end of this section, you will understand why normalization protects automated content publishing as you scale. One schema keeps content that matters consistent across every destination. Platform adapters then handle local quirks.
According to AI Content Optimization for SEO: The Ultimate Guide - SEOBoost, team plans can reach $60, which is one more reason to avoid messy rework. Clean mapping saves time, supports review, and keeps future changes simple. For related SEO cleanup, read Why Your XML Sitemap Might Be Hiding Your Best Content.
Part 3 Adding Brand Voice Consistency and SEO Content Automation

Turn Your Brand Voice Into Rules
By the end of this section, you will know how to keep automated content on brand.
Your style guide cannot stay vague. “Sound helpful” is too soft for a machine. You need hard rules for tone, formatting, vocabulary, banned phrases, CTA style, and reading level. For example, you might require short paragraphs, plain English, sentence case headings, and one direct CTA near the end.
Think of this like a recipe card, not a mood board. A recipe gives exact steps. A mood board only suggests a feeling. If you want consistent output, write rules such as “avoid hype words,” “use second person,” “spell out product names,” and “never promise rankings.”
Add SEO Checks Before Publishing
By the end of this section, you will know what every draft must pass before release.
A draft should clear an SEO checklist before anyone clicks publish. Check keyword placement, search intent match, heading structure, title tag, meta description, internal links, external links, and duplication risk. Search Engine Land’s checklist stresses intent alignment, useful structure, and on-page signals that help search engines read the page clearly (The complete guide to optimizing content for SEO (with checklist)).
This step matters because speed can hide weak pages. A post can sound fine and still miss the query. If your process needs a deeper reality check, pair this with Why Small Site Owners Should Ignore Most 'SEO Tools' Advice. That keeps your seo content automation grounded in outcomes, not vanity scores.
Use AI Agents for Task Separation
By the end of this section, you will understand why one agent should not do every job.
Can AI agents improve seo content automation? Yes, if you give them narrow roles. Use ai agents for briefing, drafting, optimization, and QA. One agent gathers facts and search intent. Another writes. A third checks headings, links, and metadata. A fourth tests voice rules and duplication risk.
This works because specialists make fewer mistakes. One general agent often mixes research, writing, and review into one blurry step. In automated content publishing, separation creates cleaner handoffs and better audit trails. For example, if rankings drop, you can inspect the optimizer instead of guessing across the whole chain.
Build Approval Logic for Risky Content
By the end of this section, you will know when human review must override automation.
Not every draft deserves the same path. Medical, legal, pricing, and product claim content needs stricter approval logic. Accuracy matters more than speed here. Route those drafts to a subject reviewer, then require final sign-off before publishing.
You can also grade risk with simple labels. Low-risk blog posts may need one editor. High-risk claims may need legal or product approval. According to AI Content Optimization for SEO: The Ultimate Guide - SEOBoost, some optimization tools reach $100 on higher-tier plans, so add human review where errors would cost far more than the software.
Conclusion: Make Automated Content Publishing Reliable
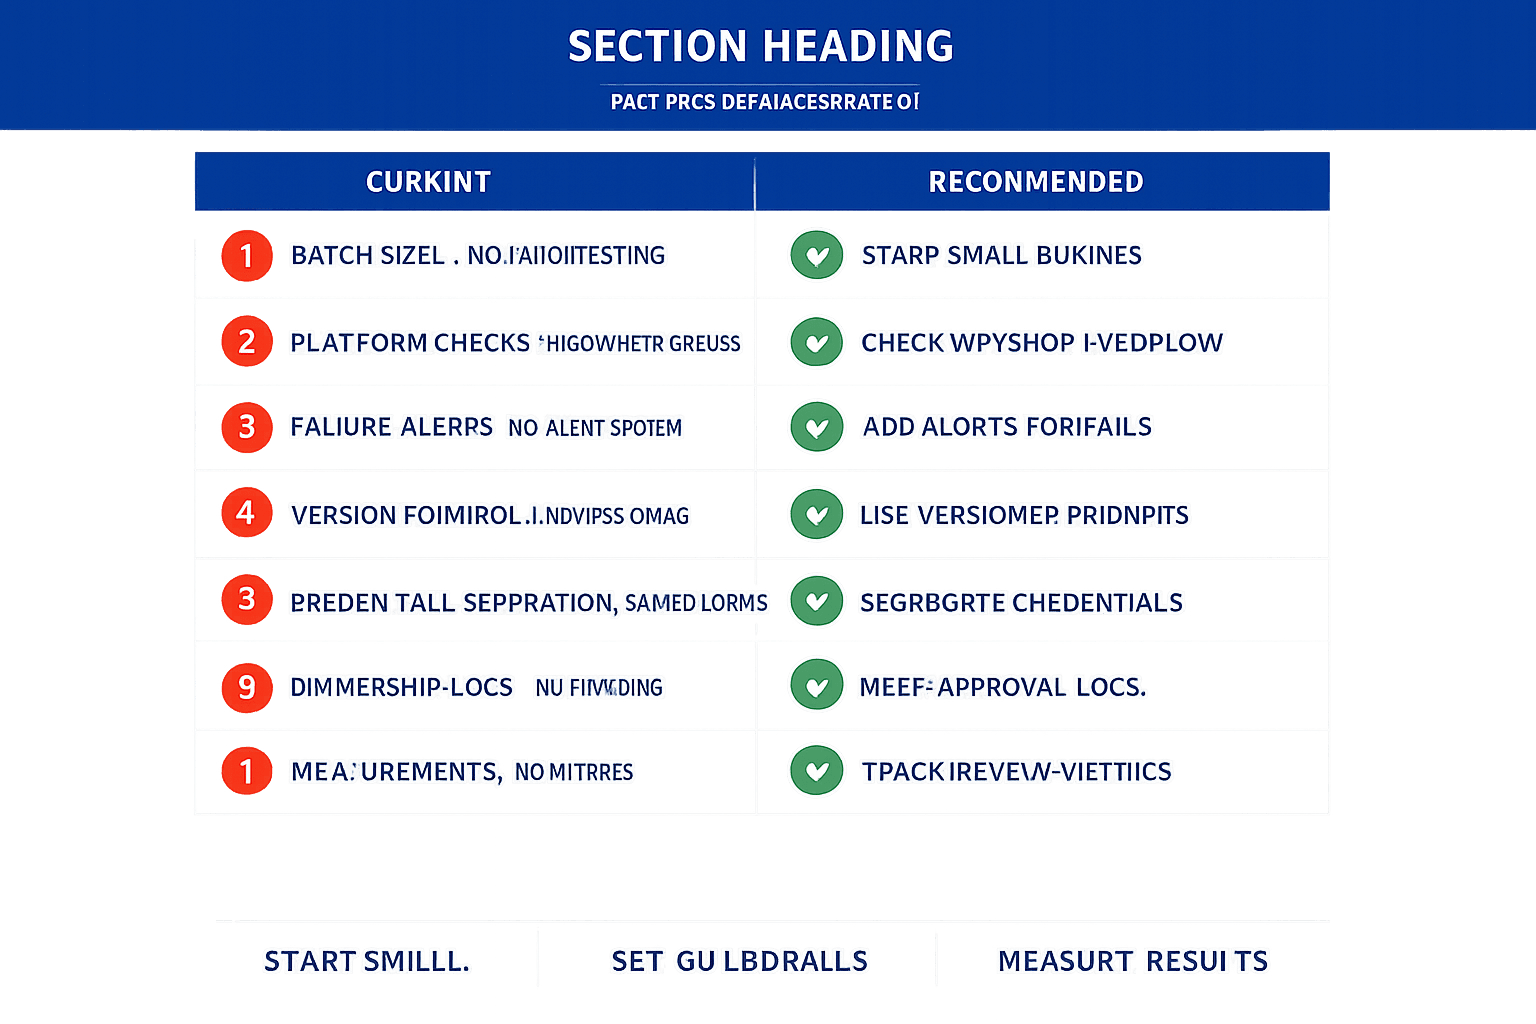
Check formatting, links, metadata, taxonomy, media placement, and final status in WordPress, Shopify, and Webflow. Then add alerts that catch failures before they spread. Missing fields, API issues, duplicate slugs, empty descriptions, and broken internal links should trigger action right away. Treat these checks like guardrails, not extras. They protect your content publishing workflow when volume grows and edge cases appear.
When you deploy, lock down the operating rules. Use versioned prompts so you can trace output changes over time. Separate credentials by environment so test and live systems never collide. Keep approval logs so you know who changed what, when, and why. Assign clear ownership for edits, exceptions, and escalations. That structure matters because seo content automation only works when the process stays accountable.
Before you scale further, document the results. Write down which steps performed well, which still need manual review, and where your ai agents need tighter instructions. Track the numbers that prove the system works for your team. Measure review time, publish speed, error rate, update frequency, and content performance after launch. Those signals show whether your automated content publishing setup is actually saving time and improving output, or just moving work to a different place.
Build small. Test hard. Document everything. Then expand with confidence.
The teams that win with automation are the ones that treat it like an operating system, not a shortcut.
Want to learn more? Learn More to explore how we can help.