How to Audit Your Site for Local SEO Without a Physical Address

Your seo audit tool should catch failures before Google does. An seo audit tool is software that scans your site’s crawlability, indexation, and performance signals, then flags issues you can fix fast. Modern teams deploy constantly, so SEO can break silently through regressions, crawl traps, and accidental noindex. According to Local SEO Checklist for Service-Based Businesses - UENI Blog, 0% of SEO problems fix themselves.
In this guide, you’ll build a developer-first workflow to audit, prioritize, ship fixes, and validate results. You’ll focus on implementation and proof, not generic checklists. If you can run scripts and read logs, you can keep search signals stable while you ship.
What You’ll Build and Prerequisites
What You’ll Build
By the end of this section, you’ll know what you’re building and why.
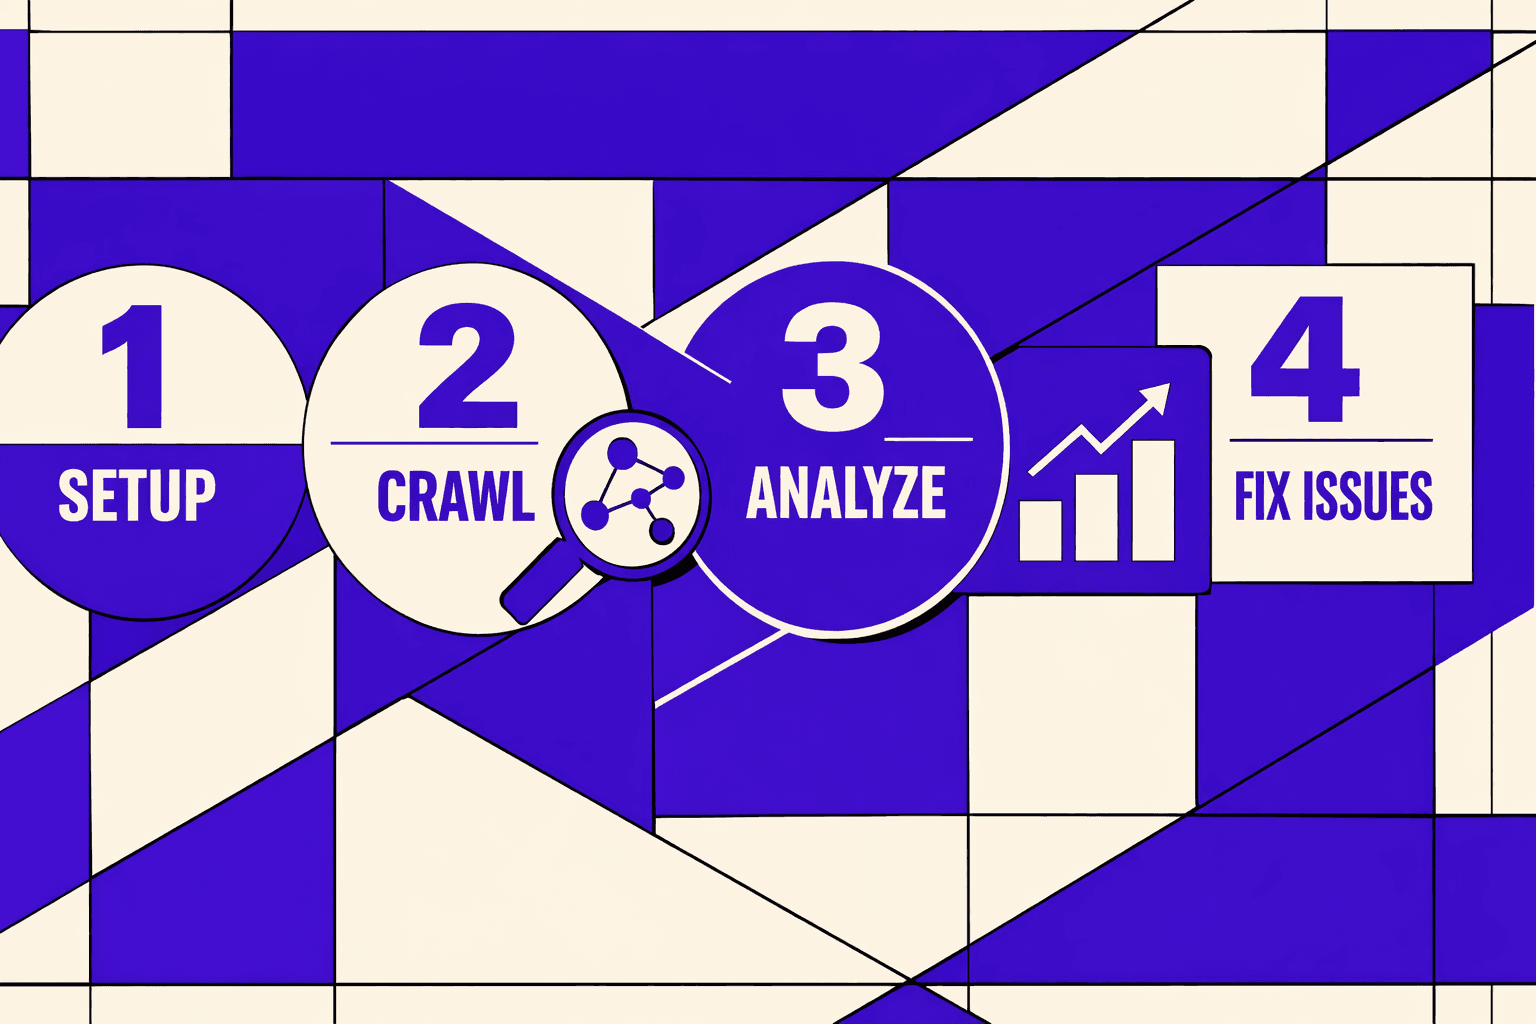
You’ll build a repeatable technical SEO audit workflow: crawl, diagnose, prioritize, fix, re-test, then monitor.
Think of it like a smoke test for search. You run it after every major deploy.
You’ll use a crawler when you need full coverage. For example, you want to find broken internal links, redirect chains, or thin location pages.
You’ll use an seo checker free tool when you need quick answers. For example, “Is this one URL blocked, slow, or missing a tag?”
For a visual walkthrough of this process, check out this tutorial from The Conversion Clinic - by JRR Marketing:
XYOUTUBEX0XYOUTUBEX
What You’ll Learn
By the end of this section, you’ll understand the outputs you must ship.
You’ll produce concrete artifacts: an issues backlog, prioritized sprint-ready tickets, and a before/after validation report.
You’ll also learn how to defend priorities using crawl budget and indexation signals in Google Search Console.
If you want a deeper view on automation choices, read AI SEO Audit Tools Drive Technical SEO Results for Modern Teams.
Prerequisites Knowledge
By the end of this section, you’ll know if your baseline skills fit.
- Basic HTML: titles, headings, canonicals, and meta robots
- HTTP status codes: 200, 301, 302, 404, 410, and 500
- Redirect logic and common redirect traps
- Comfort reading DevTools and server logs (helpful)
Prerequisites Tools and Accounts
By the end of this section, you’ll have your toolchain ready.
- Google Search Console access for the property you audit
- A crawler like Screaming Frog or Sitebulb
- PageSpeed Insights or Lighthouse for performance validation
- Optional: server log access, CDN analytics, and edge cache reports
This is the point where an seo audit tool becomes your system of record. You want exports, not screenshots.
Project Structure and Audit Artifacts
By the end of this section, you’ll know what files to create.
Create a simple folder so your audit stays repeatable and reviewable.
/inputs/(crawl exports, GSC exports, speed reports)/backlog/(issues list with severity and evidence)/tickets/(sprint-ready tasks with acceptance checks)/validation/(before vs after results and re-crawl notes)
Are free SEO checkers accurate? They’re accurate for narrow checks. They can miss site-wide patterns and edge cases.
Data indicates some local SEO changes can drive “200%” results in the right context (Local SEO Checklist for Service-Based Businesses - UENI Blog).
Part 1: Running Your SEO Audit Tool Crawl
1. Pick Your Tooling Stack and Why
By the end of this subsection, you’ll know what to run first, and why.
Start with a crawler that exports clean tables. For example, Screaming Frog or Sitebulb works well for a technical SEO audit. Pair it with a Sheets template for triage. Add an optional seo checker free tool only for spot checks.
If you’re a service-area business, still crawl your real URLs. For example, your service pages and location pages drive local intent. Use a consistent crawl setup across audits, like a unit test. UENI’s checklist is a good reminder of what those local pages should cover, even without a storefront (Local SEO Checklist for Service-Based Businesses - UENI Blog).
2. Configure a Crawl That Matches Production
By the end of this subsection, you’ll match crawler behavior to Googlebot basics.
First, set a realistic user agent. If your server serves different HTML by UA, you need to see that. Next, decide whether to obey robots.txt. If you disobey robots, label findings as “blocked in production.” Otherwise, you’ll chase false problems.
Then set your JavaScript rules. If key content only appears after rendering, you need JS rendering enabled. If your site is server-rendered, keep JS off to speed up the crawl. Either way, you’re tuning your crawl for index coverage accuracy, not crawl volume.
3. Export the Data You Actually Need
By the end of this subsection, you’ll produce exports you can re-audit.
Export structured files, not screenshots. You want CSV into Sheets with filters and notes. At minimum, export: Internal URLs, Status Code, Indexability, Canonical URL, Final URL, and Redirect Chain.
This is also where your seo audit tool becomes repeatable. If you want a deeper view on exports, read SEO Audit Data Export: Why Most Tools Hide Your Results.
4. Identify the First Quick Wins
By the end of this subsection, you’ll create a short punch list.
Start with issues that break crawling immediately:
- Broken internal links (4xx targets).
- Accidental noindex on money pages.
- Incorrect canonicals pointing to the wrong URL.
- Redirect loops and long redirect chains.
For example, a “Book Now” link that hits a 404 kills leads. A wrong canonical can de-rank your best service page. If canonicals look suspicious, use Why Your Canonical Tags Are Backfiring (And How to Audit Them Fast).
If you need a local-audit framing checklist, Seobility outlines common local audit steps (How to Run a Complete Local SEO Audit - Seobility Blog).
Part 2: Technical SEO Audit Fixes for Developers
1. Indexation and Crawlability Fixes
By the end of this section, you’ll know what to fix first. You’ll also know how to prove the fix worked.
Pages that can’t be crawled or indexed can’t rank. Content quality does not matter yet. Treat crawlability like power to a server. No power means no uptime.
Start with three checks.
- Robots and access: confirm Googlebot can fetch HTML and critical assets.
- Status and redirects: remove redirect chains and fix wrong status codes.
- Index signals: verify canonicals, noindex, and sitemap coverage.
For example, you deploy a “maintenance” header. It adds noindex on every route. Your blog looks fine in the browser. Search traffic drops a week later. Fixing performance won’t help until you remove the noindex.
If canonicals are your root cause, go deeper here: Why Your Canonical Tags Are Backfiring (And How to Audit Them Fast).
2. Performance and Core Web Vitals Fixes
By the end of this section, you’ll know where regressions come from. You’ll also know what to test before and after deploys.
Next, address Core Web Vitals: LCP, INP, and CLS. Regressions often come from releases, not “bad SEO.” You add a chat widget. You ship a new hero video. You change a layout component. Your metrics slide.
Use a tight workflow.
- Reproduce on a real URL with Lighthouse or PageSpeed.
- Map the cause to code you own: image pipeline, fonts, hydration, scripts.
- Isolate third-party scripts with a temporary blocklist test.
For example, you add a tag manager container. It pulls five new scripts. INP gets worse on mobile. Fix by deferring non-critical tags and adding budgets per route.
3. Structured Data and Metadata Fixes
By the end of this section, you’ll learn how to avoid “one bug times 10,000 URLs.” You’ll validate fixes at the template level.
Treat metadata as code generated by templates. If your title template is wrong, it’s wrong everywhere. The same is true for structured data.
Fix in this order.
- Validate schema output on one URL.
- Trace the generator: component, layout, CMS field mapping.
- Roll the fix into the shared template.
- Re-test a sample across key routes.
For example, your Service template outputs Organization schema twice. Google may ignore parts of it. Fixing one page in the CMS does nothing. You must fix the rendering logic.
If you want a deeper structured data workflow, read How to Audit your site for AI - ready structured data (without going insane).
4. Turn Findings Into Dev Tickets With Acceptance Criteria
By the end of this section, you’ll be able to write sprint-ready tickets. You’ll include scope, root cause, and measurable validation.
A good ticket reads like a failing test. It also tells you where the bug lives.
Use this template:
- Root cause: what is wrong and why it happens.
- Scope: templates, routes, and URL patterns affected.
- Acceptance criteria: before and after URLs, plus expected signals.
Example ticket:
- Problem:
/services/*pages returnnoindexdue to a shared header flag. - Scope:
ServiceLayoutused by 312 URLs. - Acceptance criteria:
- Before: three sample URLs show
noindexin rendered HTML. - After: those URLs render indexable meta and correct canonical.
- Search Console: “Page is indexed” for sample URLs after recrawl.
This is where a seo audit tool pays off. It gives you the URL list for scope. It also gives you the before and after diff.
5. When to Use a Free SEO Checker vs Deep Audit
By the end of this section, you’ll know which tool fits the question. You’ll stop wasting time on the wrong kind of scan.
What should an SEO audit include? It should include crawling, indexation signals, performance, internal links, and template-level validation. It should also include Search Console checks for coverage and real Google signals. This is where systemic issues show up, not just one page.
Are free SEO checkers accurate? They’re useful for spot checks. An seo checker free tool can catch obvious issues on a single URL. It can also help with lightweight monitoring. But it can’t model your full crawl graph or validate patterns across templates.
Use a free checker for quick triage. Use crawling plus Search Console for root causes and repeatable fixes. For local signals, cross-check basics like service pages and consistency. See Local SEO Checklist for Service-Based Businesses - UENI Blog.
Research from How to Run a Complete Local SEO Audit - Seobility Blog shows 201314%, which is why you should verify signals with real data instead of guesses.
Testing Your Fixes With Re Crawls and Monitoring
Pre Deploy Verification Checklist
In this part, you’ll learn what to confirm before shipping. You want evidence, not hope.
- Confirm the exact URL scope you changed (templates, routes, parameters).
- Verify HTTP status, canonicals, and robots rules in staging.
- Spot-check rendering with DevTools if content is JS-injected.
- Pull a small sample from log files to confirm real bot access.
- Write a rollback note: what you’ll revert if signals drop.
Regression Testing With a Second Crawl
In this part, you’ll learn how to re-crawl without tool variance. Your goal is an apples-to-apples diff.
Re-crawl the same scope with the same settings. Match user agent, robots behavior, and JS rendering rules. Keep the same include and exclude filters.
For example, you fixed parameterized URLs with a canonical rule. If the second crawl shows fewer duplicates but more 404s, you shipped a new leak. That’s regression, not progress.
Export both crawl datasets and diff by URL. Treat new issues as bugs with owners. If you need better exports, read SEO Audit Data Export: Why Most Tools Hide Your Results.
Search Console Validation and Trend Tracking
In this part, you’ll learn how to validate with Google Search Console. Crawlers simulate, but Search Console reports reality.
Use URL Inspection to confirm indexation and canonical selection changes. Then track impressions and clicks by page group, not just the whole property. Watch crawl stats for anomaly spikes after deploy.
If you’re a service-area business, focus on location and service pages first. UENI’s checklist is a solid reference for local signals and pages to watch (UENI Blog).
Common False Positives and How to Debug Them
In this part, you’ll learn to document noise so audits stay fast. False positives waste hours in every technical seo audit.
Common cases include blocked staging, auth walls, and parameterized URLs. Also watch for analytics-only query strings that explode crawl counts.
Keep a “known false positives” doc with patterns and reasons. For example, Disallow: /staging/ is correct and expected. Seobility’s local audit guidance is useful context when you standardize those checks (Seobility).
How often should you run an SEO audit? Run a full crawl monthly, and re-crawl after every high-impact release. Use lighter checks weekly with an seo checker free workflow.
Deployment and Next Steps for Ongoing Audits
Your next move is cadence. Set weekly lightweight monitoring so you catch breakage early, then schedule a deeper crawl monthly and after any major release. Small checks find obvious regressions fast. Full crawls surface the slow, structural problems that build up over time.
Before you close the loop, turn what you did into a playbook your team can reuse. Lock in your crawl configuration (scope, rendering, robots behavior), your prioritization rules (impact, effort, risk), and your ticket template (root cause, affected patterns, acceptance tests). Add validation steps that prove fixes in staging and again in production. When you write it down, your SEO audit tool stops being a one-off and becomes a repeatable system.
From here, you can level up in three directions. First, add log-based crawling so you see what bots hit, what they miss, and where crawl budget leaks. Second, run Lighthouse checks in CI so performance regressions fail builds instead of quietly shipping. Third, expand your audit coverage to international SEO and the edge cases that service-area businesses often miss, like faceted navigation and parameterized URLs that create thin duplicates.
Want to learn more? Learn More to explore how we can help.